
Harvesting fertile quail eggs for incubation is a rewarding way to add to your flock of quail. Knowing when to harvest the eggs and the proper storage of the eggs is essential for a successful hatch.
What are fertile quail eggs?
Fertile quail eggs are eggs that have been fertilized by a male quail and are capable of developing into chicks if incubated correctly. Fertile quail eggs can be collected from a quail hen or purchased from a breeder.
Fertile Quail eggs can be stored and viable for hatching for more than 14 days in the right conditions. However, hatch rates typically begin to decline after 10 days. Once the eggs are collected, they should be incubated within 10 days for the best chances of a successful hatch.
What is incubation?
Incubation is the process of providing a controlled environment in which the eggs can develop into chicks. The temperature and humidity must be kept at specific levels in order to ensure the eggs are incubated properly and the embryos have the best chance of developing into chicks.
The incubator should be kept clean and the eggs should be rotated several times per day to ensure proper development. The incubation period for quail eggs is typically 17-18 days. It is important to monitor the eggs during this time and remove any that do not develop through the process.
Benefits of incubating quail eggs
Incubating you own quail eggs has many benefits. It is a cost-effective way to increase the quail flock size or provide replacements for your flock. Fertile quail eggs can be purchased at a fraction of the cost of purchasing adult quail or you can harvest your own hatching eggs from your quail at even less cost.
Additionally, learning the process of hatching quail eggs can be quite beneficial to improving your quail raising skills. Better understanding of the development process during incubation can help you improve the health and physical characteristics of your quail covey.
How to incubate quail eggs
When it comes to incubating quail eggs, there are some steps that must be taken in order to ensure a successful hatch. The first step is to buy or collect the quail eggs for incubation. Once the eggs have been obtained, it is important to make sure that the incubator is set up correctly. The temperature and humidity must be carefully monitored throughout the incubation period, as these are two vital factors that can determine the success or failure of your hatch.
Finally, the eggs must be monitored closely in order to make sure that they are developing correctly. This includes verifying the proper temperature, humidity, and air circulation throughout the incubation process. Also, checking for any signs of mold or discoloration and making sure that the embryos are developing normally by candling the hatching eggs. With proper planning and monitoring, you can achieve a successful hatch.
Collecting the eggs
When collecting the eggs, it is important to make sure that they are clean and free from dirt or debris. The eggs should be collected carefully, as rough handling could damage the eggs and prevent them from hatching. It is also important to make sure that quail eggs for incubation are from a healthy flock, as any eggs from a flock that is diseased or unhealthy could result in an unsuccessful hatch.
Once the eggs have been collected, it is important to store them with the pointy side down in a cool, dark place until they are ready to be placed in the incubator. The fertilized eggs should be turned several times daily if stored more than 3 days.
Setting the incubator
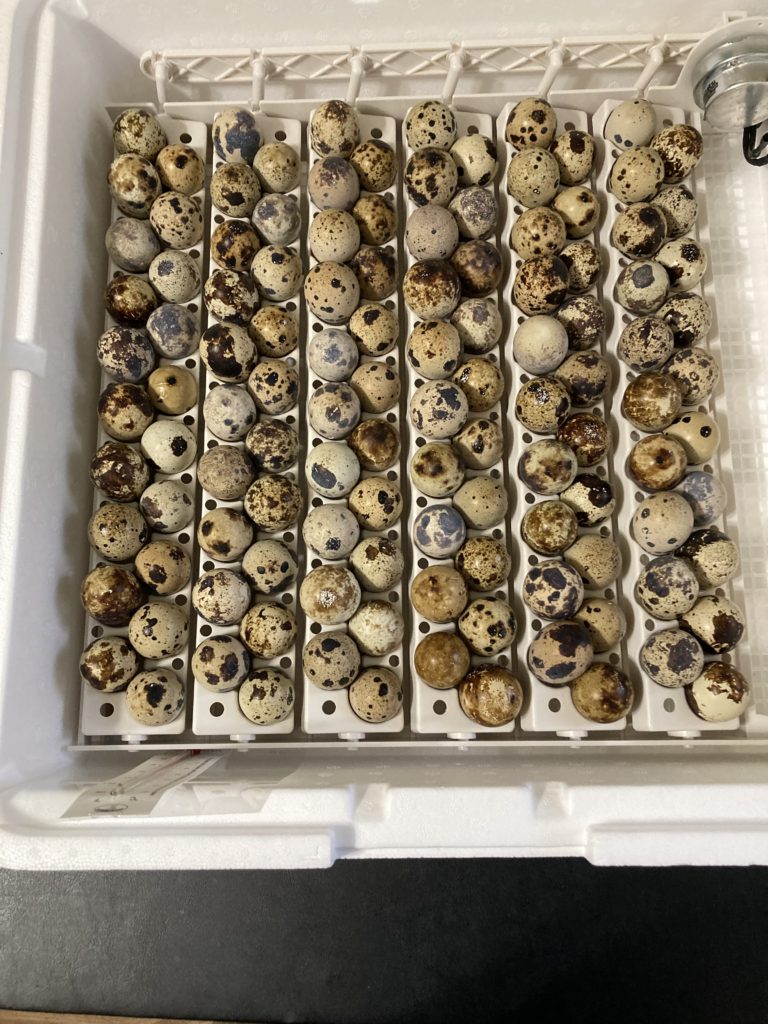
The incubator should be set up according to the manufacturer’s instructions and the correct temperature and humidity levels should be maintained. The eggs should be placed in the incubator, pointy side down, and rotated at least 3 times daily to prevent embryo death or unhealthy chicks.
For quail, the temperature should remain at 99.5°F-100°F and the humidity should be kept between 40-50%. The eggs should be left in the incubator for 14 days at these specifications.
On day 14, the incubator should be locked down for hatching. This involves increasing the humidity to 50-60% relative humidity and to stop turning the eggs.
Monitoring the eggs
Regular monitoring of the eggs should take place throughout the incubation period to ensure that the temperature and humidity remain at optimal levels. The eggs should also be checked for any signs of infection or discoloration. If any of these signs are present, the eggs should be discarded as they will not hatch and can contaminate the remaining eggs.
Conclusion
Harvesting fertile quail eggs for incubation can be a rewarding experience for both amateur and experienced breeders alike. Not only is it a great way to produce more quail for your backyard flock, but it also provides an opportunity to observe the miracle of life as the eggs hatch and the chicks emerge.
Before collecting the eggs, it is important to ensure that the incubator is set up correctly with the correct temperature and humidity levels for successful hatching. Once the eggs have been placed into the incubator, monitoring should take place on a regular basis to ensure that the eggs remain at the optimal temperature and humidity levels. With the right preparation and care, you can be highly successful hatching your own quail chicks.