
If you are not satisfied with your hatch rates, a post hatch diagnostic process can help you determine the cause.
Even if you are satisfied with your hatch rate we all want to improve, right?
Completing a post hatch diagnosis will assist you in eliminating variables, give you a better understanding of the entire process, and allow you to make improvements.
Timing of Hatch
The most simple part to diagnose is the hatch timing
Early Hatch – Majority of your quail chicks hatched prior to day 17 (it is normal that a small percentage may hatch on day 16)
- High temperature during incubation – quail chicks developed too quickly
- Low Humidity throughout incubation
Late Hatch or Drawn Out Hatch – Majority of chicks hatched after day 17. Chicks continuously hatching between day 18-20, and sometimes up to day 24
- Low incubator temperature or cool spots within the incubator
- High humidity in your incubator
- Non-visible egg damage, commonly associated with shipped hatching eggs
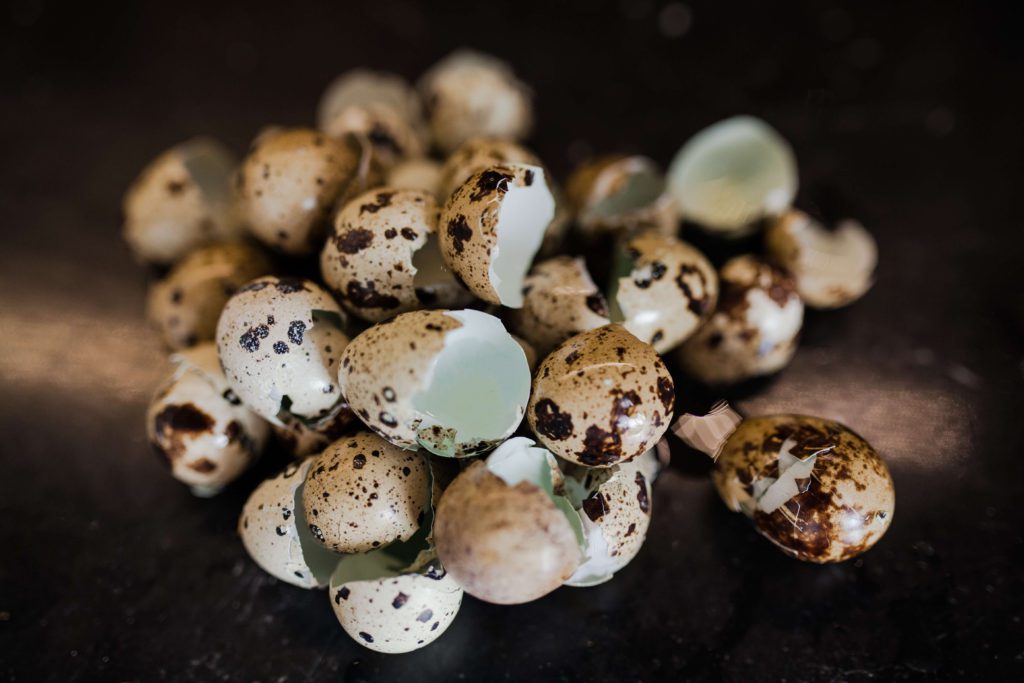
Eggs That Didn’t Hatch
To begin diagnosing your eggs that did not hatch, you will need to open up the remaining eggs
You are looking for embryos/chicks that did not hatch and analyzing the stage of development of each embryo.
*A magnifying glass can assist with identifying early development of embryos
Here are development stages of quail chicks inside the egg and most common causes for failure to hatch
No visible signs of embryo development – Blood spots (dark spots) and blood rings will form within 24 hours of development
- The absence of blood rings and dark spots tell us that the embryo did not develop past the first day of incubation
- The most common cause of no development in fertile eggs is handling during shipment. Vibrations, Jostling, Abusive Handling, etc
- The second most common cause is excessive incubation temperatures during the beginning of incubation.
Blood Rings or Blood Spot visible – Embryo began development, but died in the early days of incubation
- Excessive incubator temperature during the first days of incubation
- Contamination of the egg
- Eggs experience high temperatures for sustained durations of time during transit. This can cause the embryo to begin development
Dead embryos at early stage of development – Chick begins to form, but dies within the first week or so
- Incubator temperature variations early in development
- Hatching eggs not turned properly
- Inadequate ventilation
Dead embryos at mid stages of development – Quail Chicks developed for the first week or so, however did not fully develop
- Incubator temperature variations – Embryos become more sensitive to temperature variances as they grow
- Hot and cool spots in the incubator will cause some of the embryos to die, while others may not be impacted
- Inadequate ventilation
- Inadequate egg turning
Developed or fully developed chick – Embryos that developed to late stages of incubation but did not pip (break the egg with it’s egg tooth)
- Incorrect incubator temperature
- High temperature during late stages of hatching
- High humidity during late stages of hatch
- Drops in temperature and humidity, such as opening the incubator/hatcher too often or for too long
- Contamination
- Inadequate turning of eggs
Chicks pipped but did not hatch – Chick pipped the egg, however never fully emerged from the egg
- High incubator temperature caused by a full incubator of active chicks
- Low humidity or prolonged drops in humidity during hatching, such as opening the incubator too many times or for too long, causing the egg membrane to shrink wrap the chick
- Insufficient ventilation during hatching
- Inadequate turning of eggs
Wow, that’s a lot of information and numerous potential problems, but consistency and record keeping is key to improving your hatch rates.
Start with verifying the most common factors from this list (Absolute verification of incubator temp and humidity throughout the entire process) and work your way through the remainder, verifying the process as you go.
Tracking your hatches, post hatch findings, and results will allow you to methodically eliminate variables and ensure that your incubation process is functioning as expected. Over time and by process of elimination, you will know where the opportunities are and continue to improve your hatch rates.
Good evening! I hope you are well. Tomorrow is lock down day. I’m so excited. I read through all the info you gave us but I can’t find the correct temperature to set for tomorrow. You told me the humidity should be 55%. But I don’t want to have the temperature wrong. Thanks for any info. Tina and Tim tinaeuc@yahoo.com
Tina, we recommend running the same temperature at lock down (99.5F). Just increase your humidity to 55% and cease turning the eggs.